|
|
|
|
|
|
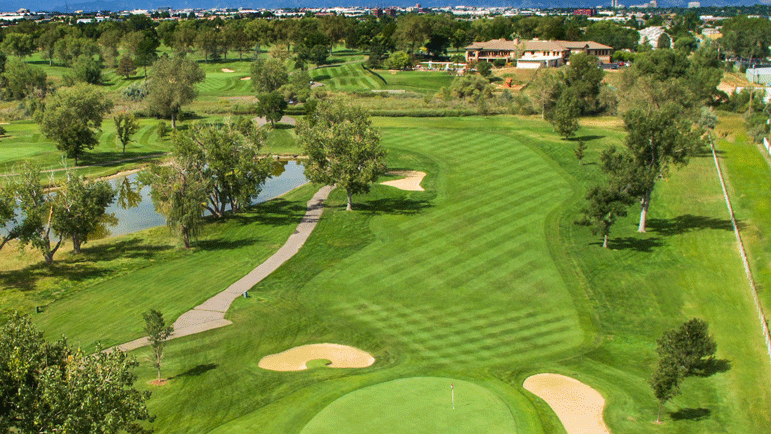
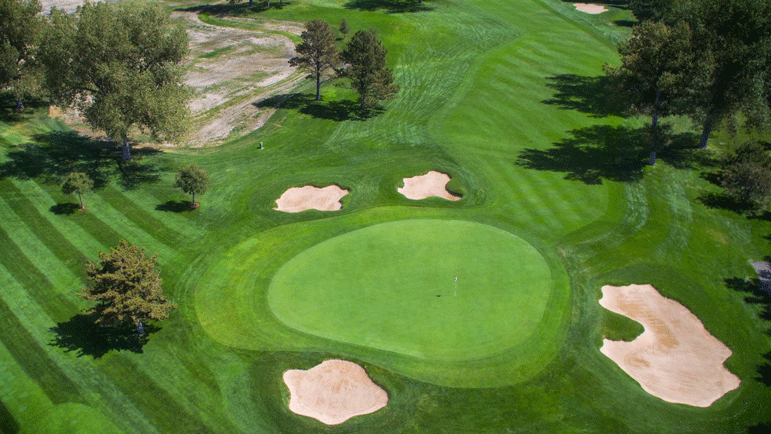
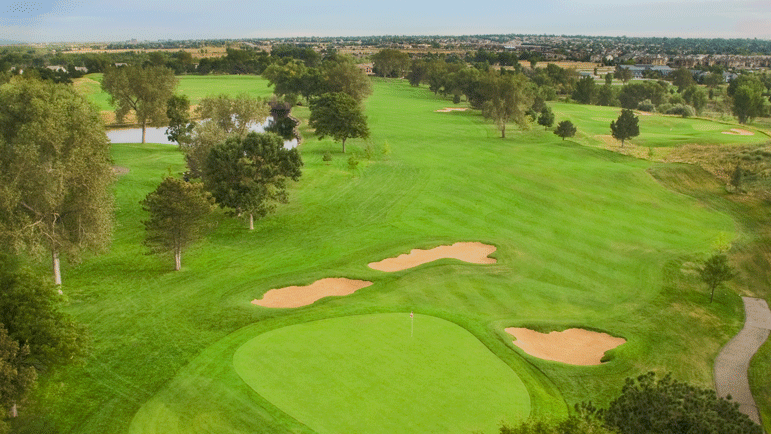
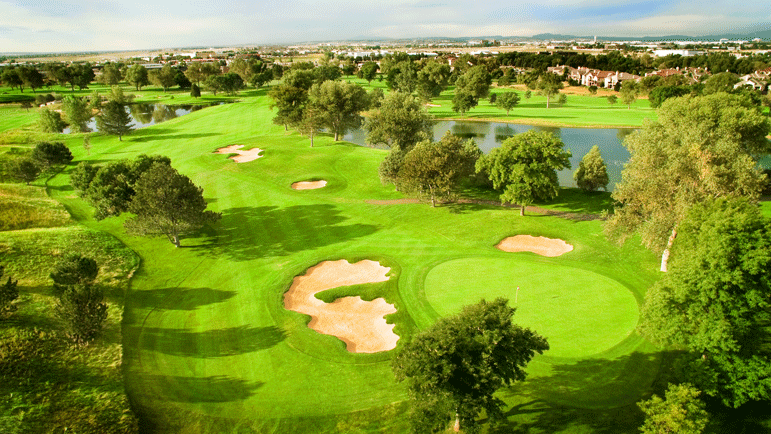
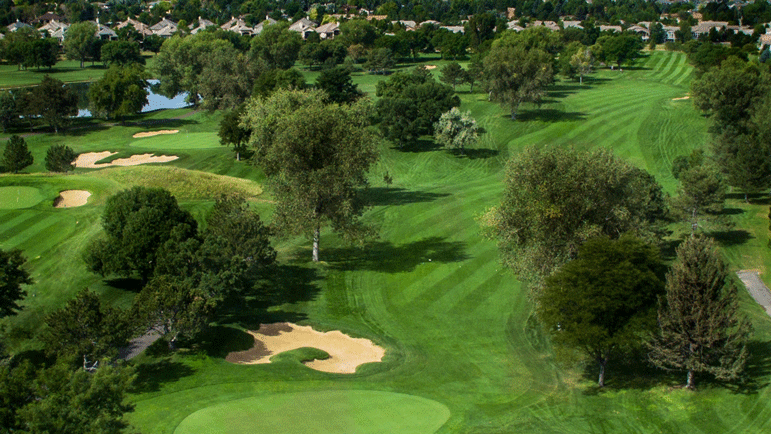
Hole 1
|
Longest par 4 on the front nine. Stay slightly left off the tee, many hazards on the right. Four bunkers protect the green, avoid them and you have an obtainable par.
|
Yardage
|
|
Black
451
|
Gold
401
|
Blue
372
|
White
260
|
Red
260
|
|
Handicap: 3 / 13
Par: 4 / 4
|
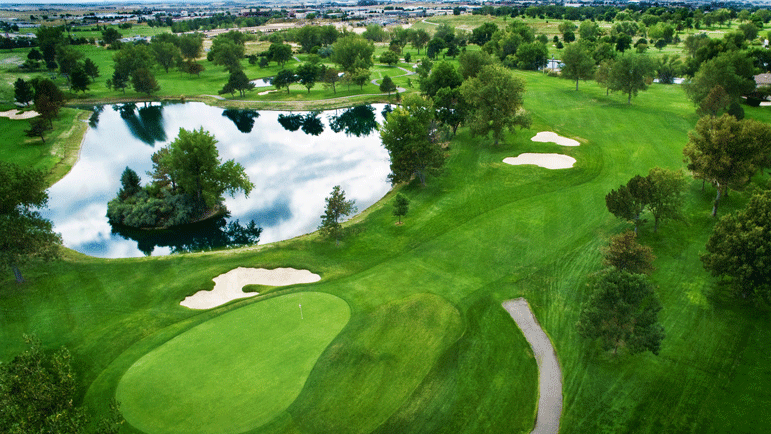
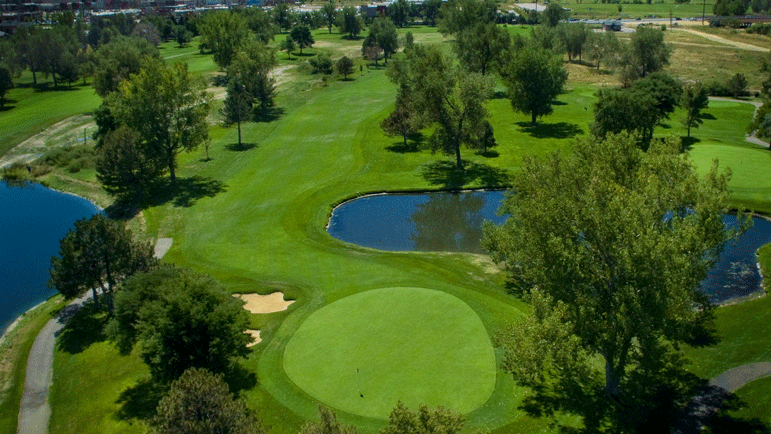
Hole 2
|
A straight and solid tee shot is key on this dogleg left, par 4. The lake down the left side and a large cottonwood at the corner of the dogleg could slow you down. Your approach shot is uphill, use more club.
|
Yardage
|
|
Black
408
|
Gold
390
|
Blue
336
|
White
328
|
Red
287
|
|
Handicap: 9 / 5
Par: 4 / 4
|
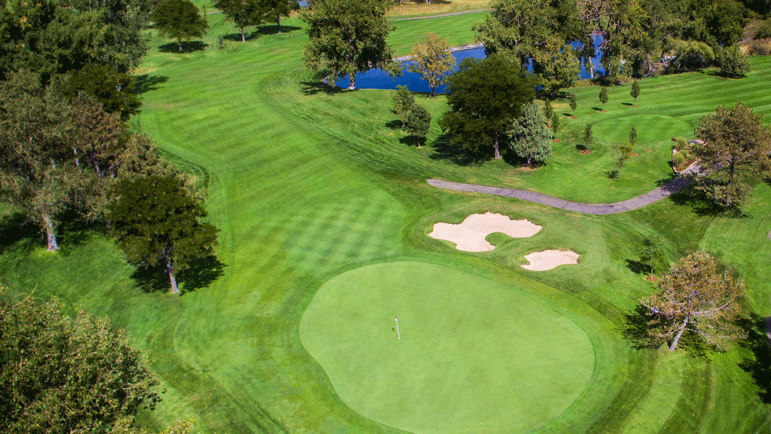
Hole 3
|
On this short par 4, your tee shot is better short rather than long. This leaves you with a short iron into a large green. Good birdie hole.
|
Yardage
|
|
Black
366
|
Gold
360
|
Blue
313
|
White
313
|
Red
271
|
|
Handicap: 15 / 11
Par: 4 / 4
|
Hole 4
|
Keep it straight off the tee to avoid water down the right side and trees down the left. Two good shots can set you up for a birdie. Take advantage here, the holes will get more difficult.
|
Yardage
|
|
Black
533
|
Gold
499
|
Blue
486
|
White
470
|
Red
410
|
|
Handicap: 13 / 1
Par: 5 / 5
|
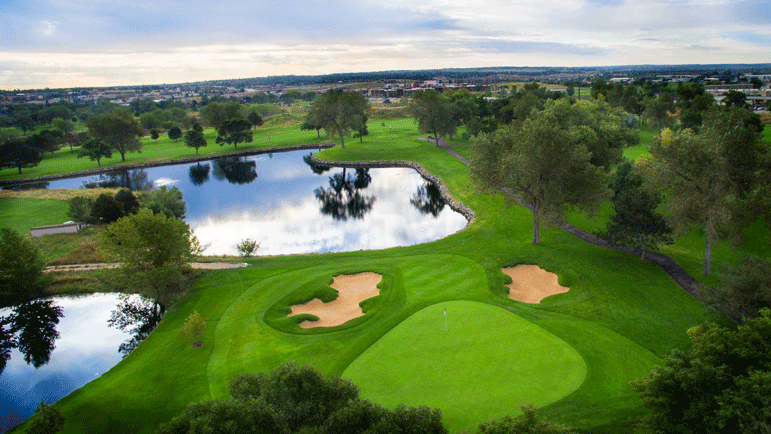
Hole 5
|
Decisions off the tee make this a challenging hole. If you drive short of the tree at the corner of this dogleg right, use a mid to long iron into the green. If your tee shot is past the tree, fairway bunkers come into play. Hit this green and you have a good chance for par.
|
Yardage
|
|
Black
411
|
Gold
375
|
Blue
314
|
White
314
|
Red
289
|
|
Handicap: 11 / 9
Par: 4 / 4
|
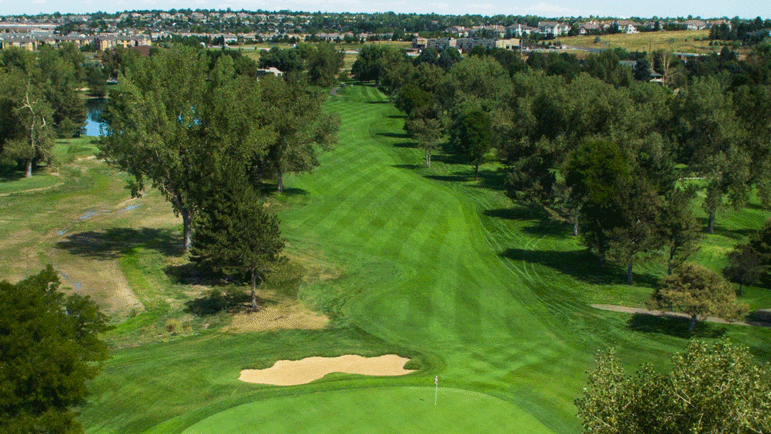
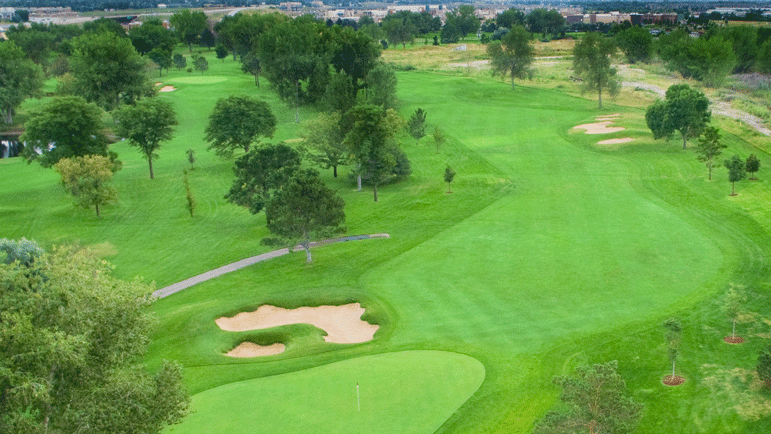
Hole 6
|
This last par 5 on the front 9 demands three good shots. A straight tee shot makes the lay up much easier, stray off the fairway and you're scrambling to the green.
Make sure your second shot is down the right side and you'll have a good look at the green. Beware of the two ponds, short and right of the green.
|
Yardage
|
|
Black
565
|
Gold
541
|
Blue
487
|
White
424
|
Red
424
|
|
Handicap: 1 / 3
Par: 5 / 5
|
Hole 7
|
Take advantage here, no bunkers make this the least difficult hole on the golf course. Clear the water for a birdie putt on this sloping green.
|
Yardage
|
|
Black
164
|
Gold
138
|
Blue
128
|
White
104
|
Red
104
|
|
Handicap: 17 / 13
Par: 3 / 3
|
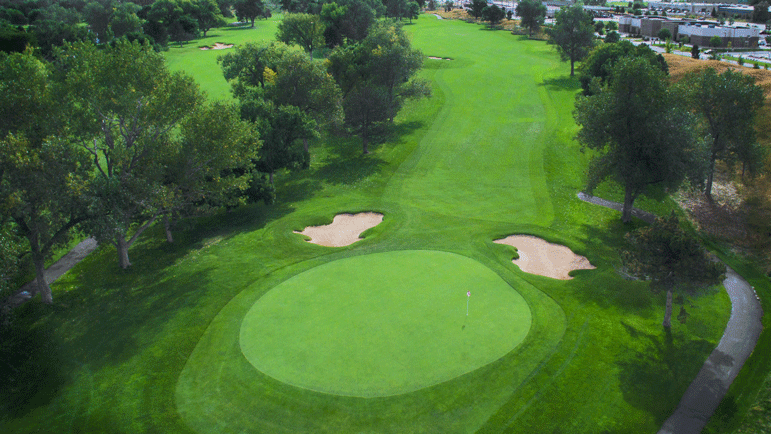
Hole 8
|
Aim at the left bunkers on this long par 4 and you'll avoid trees on the right. Long hitters should cut the ball to avoid the bunkers. A tee shot down the left side of the fairway leaves a clear shot into this two-tiered green. Going down the right side means a shot over trees and a greenside bunker. Don't be long over the green; bogey, or worse, will result.
|
Yardage
|
|
Black
423
|
Gold
382
|
Blue
352
|
White
316
|
Red
316
|
|
Handicap: 5 / 9
Par: 4 / 4
|
Hole 9
|
This is a challenging par 3 that is long and uphill. With a good front nine on the line, par is a great score. Take enough club to carry the hill, anything short will not run on to the green. Once you've carried the hill and avoided the four bunkers, you'll face a challenging green. Take two putts, and run to the 10th tee.
|

Yardage
|
|
Black
220
|
Gold
188
|
Blue
166
|
White
158
|
Red
74
|
|
Handicap: 7 / 17
Par: 3 / 3
|
Hole 10
|
Keep the momentum going on this straight-away par 5. This hole is your best chance for par or birdie.
|
Yardage
|
|
Black
533
|
Gold
509
|
Blue
498
|
White
419
|
Red
400
|
|
Handicap: 14 / 4
Par: 5 / 5
|
Hole 11
|
Keep it in the fairway off the tee on this long par 4. Use plenty of club on your approach shot to avoid 2 deep greenside bunkers. Par is a good score.
|
Yardage
|
|
Black
473
|
Gold
432
|
Blue
364
|
White
342
|
Red
342
|
|
Handicap: 4 / 8
Par: 4 / 4
|
Hole 12
|
Keep your tee shot straight as the fairway bunkers are reachable off the tee. Your second shot is a short to mid-iron into this large green.
|
Yardage
|
|
Black
409
|
Gold
382
|
Blue
371
|
White
284
|
Red
284
|
|
Handicap: 16 / 14
Par: 4 / 4
|
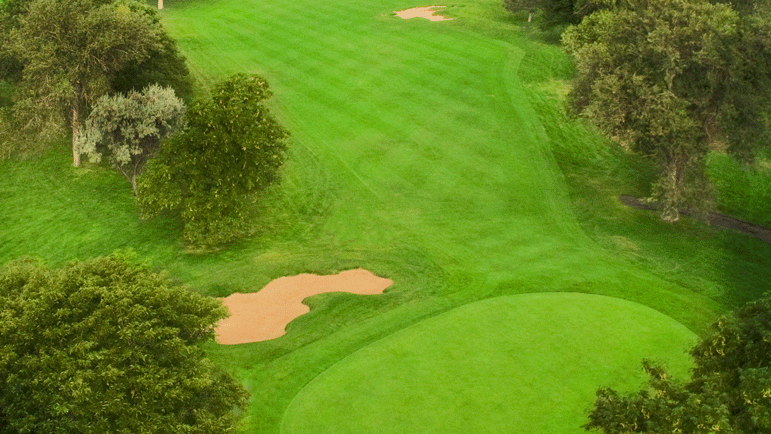
Hole 13
|
Don't be intimidated on the tee of this par 3. A short to mid iron will put you on or near the green. Birdie is possible.
|
Yardage
|
|
Black
187
|
Gold
154
|
Blue
140
|
White
110
|
Red
98
|
|
Handicap: 18 / 18
Par: 3 / 3
|
Hole 14
|
Precision is required off the tee on one of the most demanding holes on the course. Trees block your second shot if you're long or short. Avoid the three bunkers protecting the green. If you land in any of them, the ball will be below your feet.
|
Yardage
|
|
Black
378
|
Gold
348
|
Blue
340
|
White
333
|
Red
262
|
|
Handicap: 8 / 12
Par: 4 / 4
|
Hole 15
|
This downhill par 3 doesn't play as long as the yardage indicates. Aim for the middle of the green to give yourself a chance for a birdie.
|
Yardage
|
|
Black
202
|
Gold
190
|
Blue
175
|
White
158
|
Red
106
|
|
Handicap: 12 / 16
Par: 3 / 3
|
Hole 16
|
Lots of options on this short par 4. Keep your tee shot down the left side of the fairway bunkers. Long hitters can fly these bunkers and shorten the hole. Keep your approach shot below the hole for a chance at birdie, the green slopes severely back to front.
|
Yardage
|
|
Black
376
|
Gold
349
|
Blue
340
|
White
247
|
Red
247
|
|
Handicap: 10 / 10
Par: 4 / 4
|
Hole 17
|
The most difficult hole on the course. Keep your tee shot centered to the left to avoid reachable fairway bunkers and trees on the right. A good drive leaves a long approach shot into the well protected green. If you avoid the two large bunkers greenside, a two putt on this undulating green makes par a great score.
|
Yardage
|
|
Black
494
|
Gold
444
|
Blue
377
|
White
352
|
Red
352
|
|
Handicap: 1 / 1
Par: 4 / 4
|
Hole 18
|
Roller coaster, par 5. A solid tee shot will carry you to the top of the hill. If you avoid the reachable fairway bunkers on the left, your second shot can carry the valley to the top of the second hill.
Approach the green on the right half as all shots run left. An uphill putt is your best chance for a birdie, downhill putts on this quick green are tricky.
|
Yardage
|
|
Black
572
|
Gold
526
|
Blue
433
|
White
433
|
Red
399
|
|
Handicap: 5 / 7
Par: 5 / 5
|
|
|
|
|
|
|